Key Takeaways
- Hailstones as small as one inch can cause functional harm to standard shingles, meaning even moderate storms deserve a closer look
- Signs include round dark spots, missing granules, soft bruised shingles, and dents on metal flashing, vents, and gutters
- Checking non-roof surfaces first, like cars, grills, and downspouts, gives you a safe preview of what the shingles likely experienced
- Winter freeze-thaw cycles turn small unnoticed impacts into leaks, mold, and structural rot if left alone before cold weather
- Documenting storm dates, photos, and measurements strengthens any insurance claim and speeds up the repair process
- Hiring a licensed inspector is safer and more accurate than climbing up yourself, especially on steep or multi-story homes
- Acting in fall gives contractors enough time to complete repairs before snow and ice make the job harder and pricier
A single summer storm can leave your home looking perfectly fine from the curb while quietly setting the stage for a very expensive winter. Hail is sneaky that way. It bounces off, melts within an hour, and most homeowners move on without a second thought.
But those few minutes of pelting ice can bruise shingles, knock protective granules loose, and crack sealants in ways that only reveal themselves when snow starts piling up. By then, water is already finding its way inside.
This guide walks you through the basics, step by step, assuming you have never climbed a ladder in your life. You will learn what hail actually does to a house, where to look for clues from the ground, and why timing your inspection before the first freeze matters more than most people realize.
What Hail Actually Does to a Roof
Hail is just frozen rain, but once it grows past a certain size, it hits with enough force to crush the top layer of your shingles. Asphalt shingles are built with tiny mineral granules on top that shield the asphalt underneath from sunlight. When hail strikes, those granules get knocked loose. The exposed asphalt then dries out, cracks, and ages at double speed.
According to My Roofing Pal, functional damage usually begins at around one inch for three-tab shingles and one and a quarter inches for architectural shingles. That is roughly the size of a quarter. Smaller hail can still cause cosmetic issues, but the real structural concerns start at those thresholds.
The problem is cumulative. A hailstorm this August might not spring a leak today, but combined with freezing temperatures, ice dams, and shifting materials in January, those weak spots become entry points for water.
Why Winter Makes Everything Worse
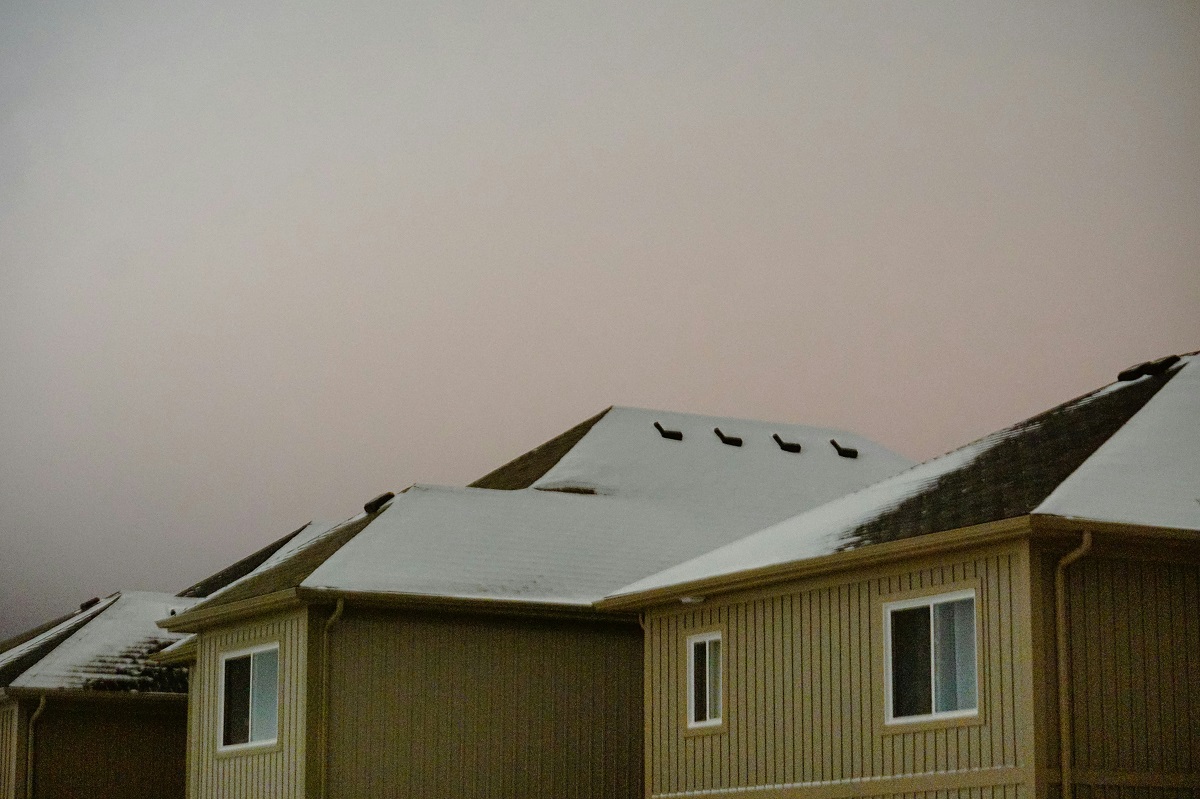
Cold weather does not create damage out of thin air, but it absolutely amplifies anything that is already there. Water seeps into cracked shingles, freezes overnight, expands, and pries the crack wider. Repeat that cycle fifty times over a single winter and a tiny flaw becomes a gaping flaw.
Snow load adds weight. Ice dams trap meltwater at the eaves. Attic condensation feeds mold in spots where the underlayment has been compromised. All of this stems from vulnerabilities you could have caught in October.
Here is what tends to go wrong once temperatures drop:
- Hairline cracks in shingles widen from freeze-thaw expansion
- Loose granules wash into gutters and clog downspouts
- Damaged flashing allows meltwater to pool near chimneys and vents
- Bruised shingles tear away under heavy snow or ice
- Sealant failures let wind lift and peel shingles off entirely
Catching these issues in fall is also cheaper. Understanding seasonal roof damage costs helps homeowners see why a $300 inspection in September beats a $6,000 emergency repair in February.
Ground-Level Clues You Can Spot Today
You do not need to climb anything to start your inspection. In fact, the smartest first move is to walk around your property and look at everything except the roof itself. Hail that dented your car or shredded your tomato plants almost certainly did something to your shingles too. Think of your yard as a giant impact test lab after a storm. Every object out there absorbed the same hits your roof did, and most of them are far easier to examine up close than asphalt shingles twenty feet in the air. Learning how to identify hail damage on roof surfaces often starts with reading these ground-level clues correctly.
Walk a slow, deliberate loop around the entire perimeter of your house, ideally within 24 to 48 hours of the storm while the evidence is still fresh. Bring a notebook or your phone to document what you find, because clear photos with timestamps can be invaluable later if you need to file an insurance claim.
Check These Surfaces Around Your Home
Start with items at eye level. Dents, dings, and splatter marks on softer materials are reliable indicators that the storm was strong enough to do real harm up top. Pay attention to both the size and the pattern of the marks, since uniform round impacts across multiple surfaces almost always point to hail rather than falling branches or debris.
- Car hoods, roofs, and trunk lids for round dents, especially shallow dimples the size of a quarter or larger
- Grill lids, patio furniture, and metal garbage cans, which often show the clearest impressions because of their thin metal surfaces
- Downspouts and gutter sections for dings or dents, particularly along the top edges and corners where hail strikes hardest
- Window screens and sills for tears, punctures, or paint chips knocked loose by direct impacts
- Deck boards and painted railings for pockmarks, splintering, or small circular bruises in the wood grain
- AC unit fins for bent or flattened aluminum, a classic sign that hailstones were large enough to deform soft metal
- Mailboxes, light fixtures, and house numbers for fresh dents that were not there before the storm
- Wood fences and sheds for splintered boards or missing paint flecks around impact points
If three or more of these surfaces show signs of impact, assume your shingles took a beating and move to the next step. Even if only one or two show damage, do not dismiss the possibility of roof damage entirely — some materials simply absorb hits better than others, and shingles are often more vulnerable than the sturdy metal and wood around your yard.
How to Identify Hail Damage on Roof Surfaces Safely
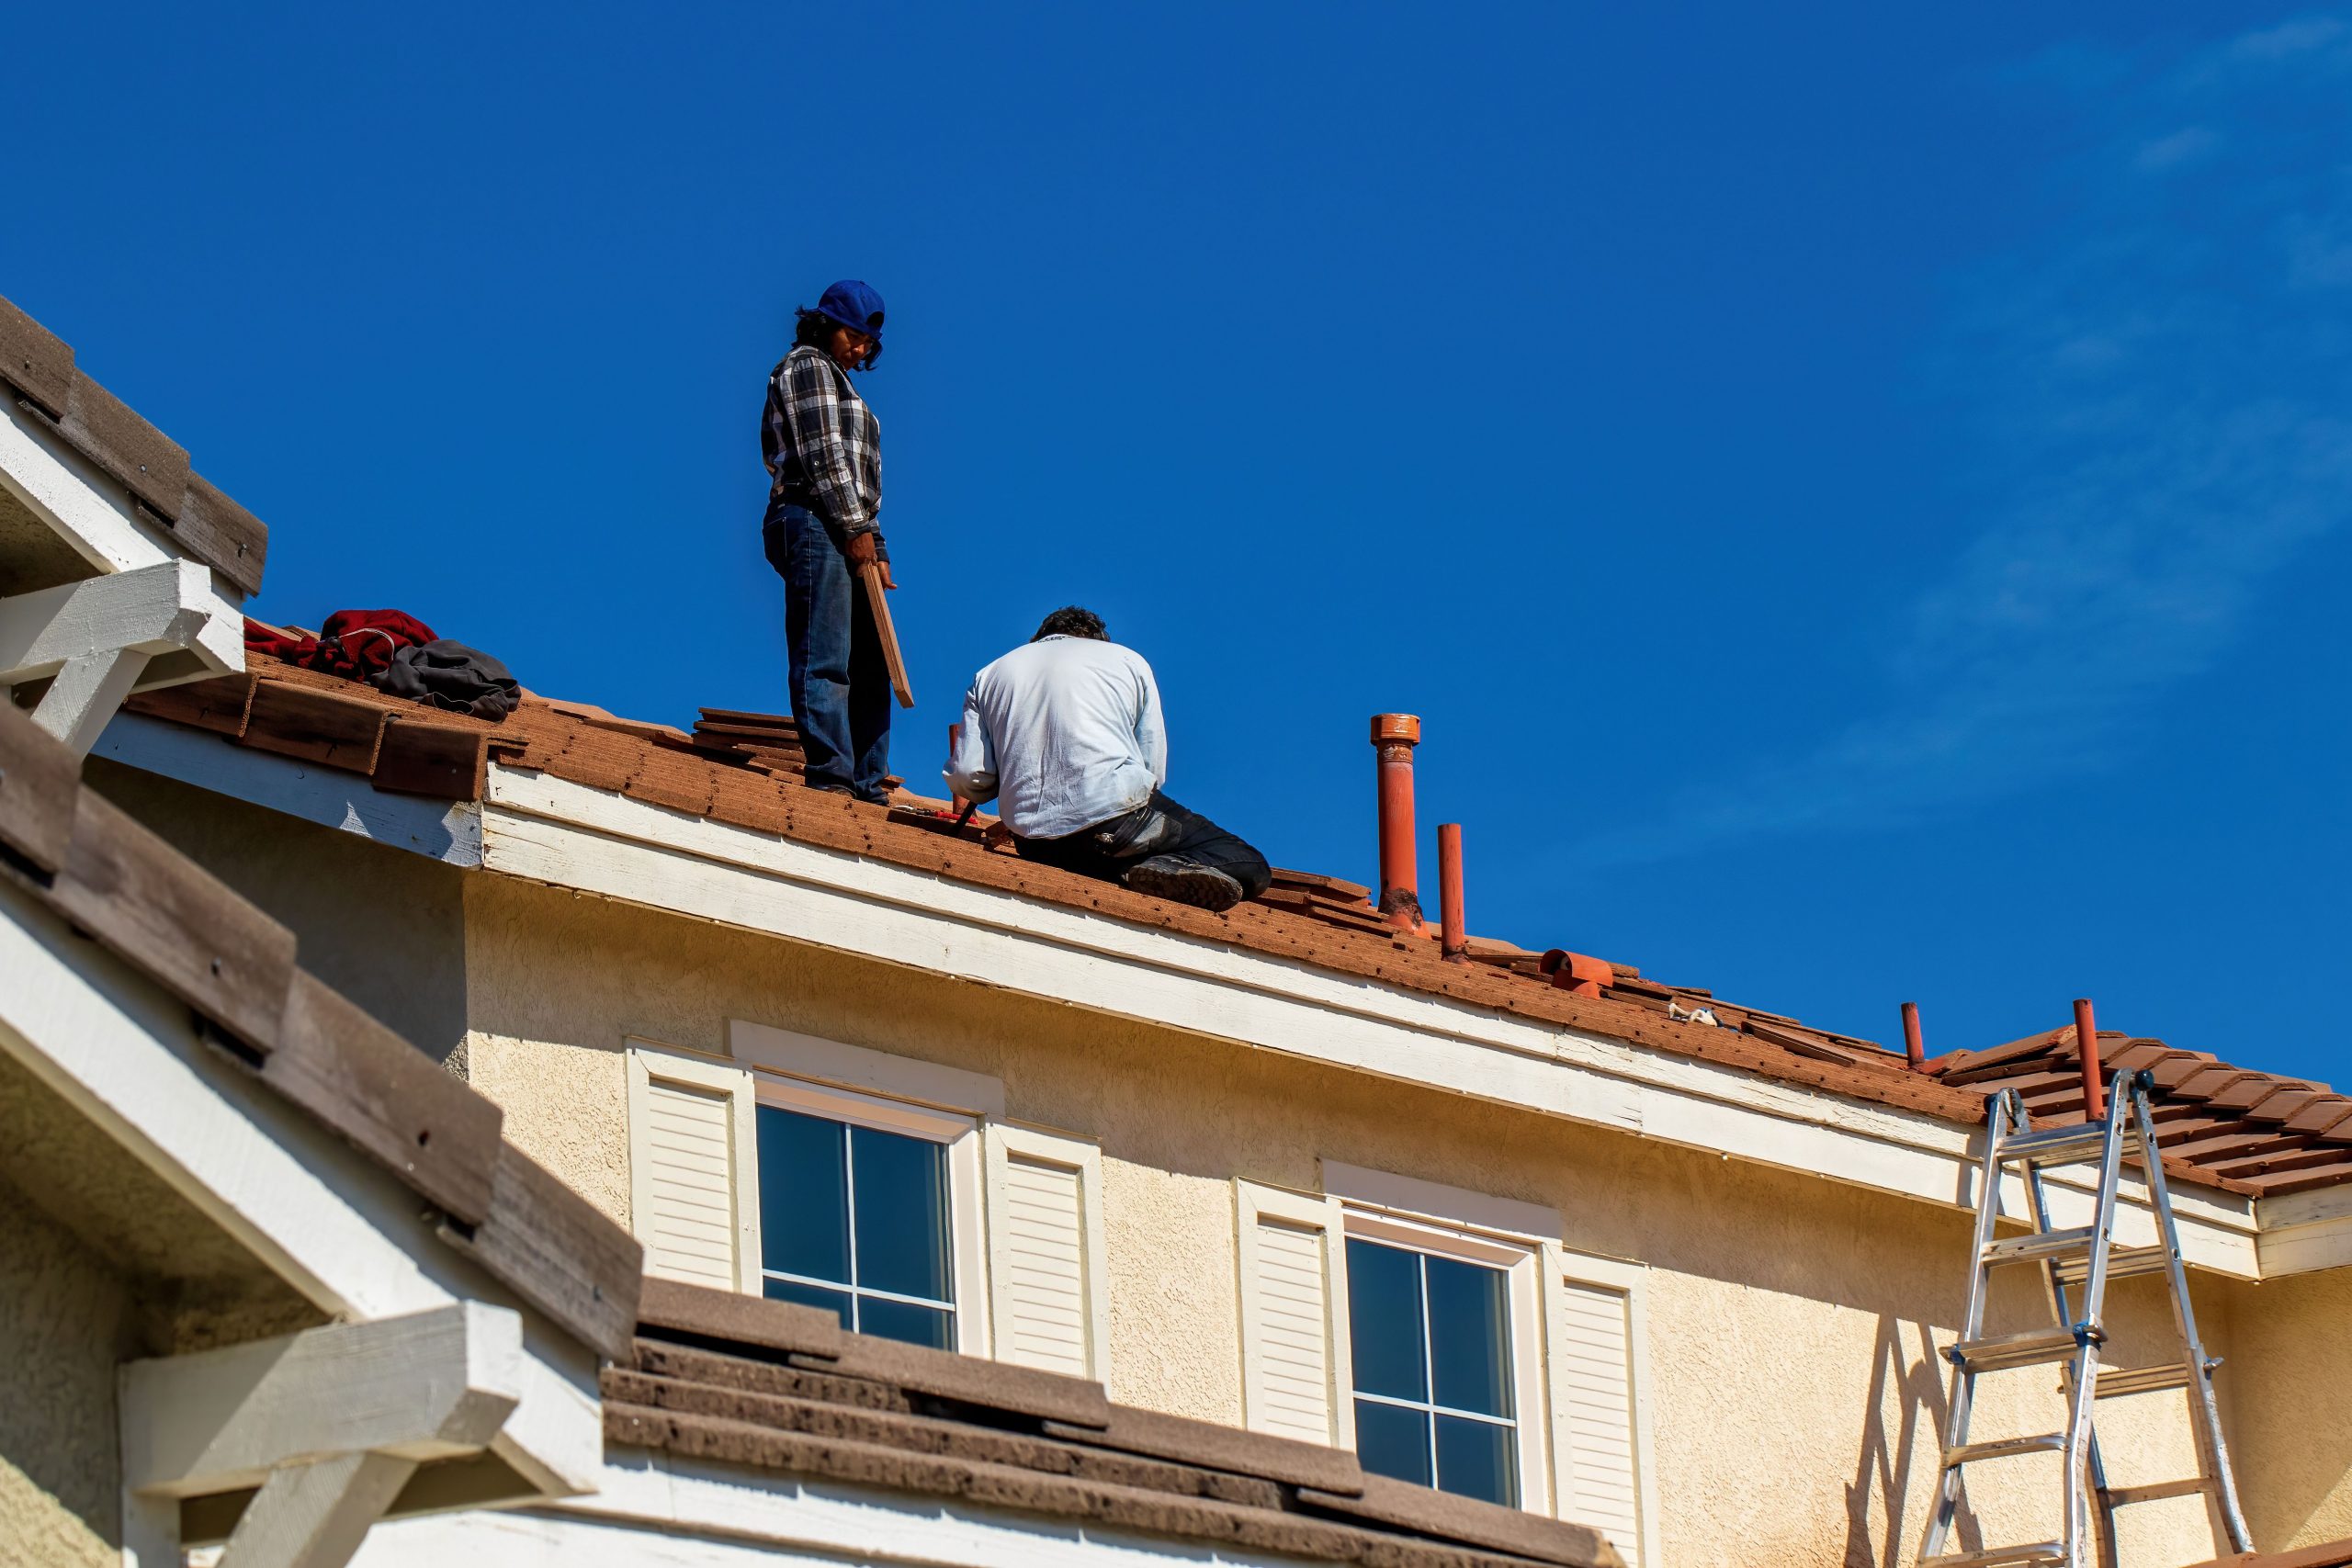
Once ground clues point to trouble, you can look at the roof itself, ideally with binoculars from a second-story window or a stable ladder leaned against the eave. A good pair of 8x or 10x binoculars will reveal more detail than you might expect, and shooting photos with a zoom lens or phone telephoto can give you something to study later without staying on the ladder longer than necessary. Never walk on the roof unless you are trained and equipped with harnesses, proper footwear, and someone spotting you from below. The whole point of learning how to identify hail damage on roof surfaces is to catch problems without creating new ones, like a fall from fifteen feet or a cracked shingle you created yourself while trying to inspect one. If the pitch is steep, if the shingles are wet, or if the roof is more than one story up, stop and call a professional instead.
What you are hunting for are round dark spots where granules have been stripped away, exposing the black asphalt beneath. Fresh hail hits look almost like bruises on fruit, dark circles with soft centers that often feel slightly spongy to a trained inspector’s touch. Older hits may show cracks radiating outward, flaking edges, or small depressions where the mat underneath has been fractured even if the surface still looks mostly intact. Pay attention to the size of the marks too — pea-sized hail tends to leave shallow dimples, while golf-ball or larger stones can punch through the granule layer entirely and sometimes split the shingle in half.
Spotting the Difference Between Hail and Normal Wear
Hail damage has a distinct pattern that sets it apart from age-related deterioration, and knowing the difference will save you from both false alarms and missed claims. The hits are usually random, scattered across all slopes rather than concentrated in one area, and they share a similar size and shape because every stone in the storm fell from roughly the same cloud. Normal wear, by contrast, shows up as uniform fading, curled edges, blistering from trapped moisture, or thinning along ridges and valleys where foot traffic and sun exposure take their toll over the years. Granule loss from aging tends to be gradual and even, while granule loss from hail is sudden and spotty. If you see a mix of round dark spots on multiple sides of the roof — especially the north and west slopes, which often take the brunt of incoming storms — hail is almost certainly the culprit and the rest of your roof damage inspection should proceed with that assumption in mind.
Also check metal surfaces up high. Vents, flashing around chimneys, turbine caps, satellite dishes, and the drip edge along gutters all dent easily and hold evidence longer than shingles do because metal does not shed its damage the way asphalt eventually can. Soft metals like aluminum and copper will show crisp, clean dings that are easy to count and photograph, which is exactly the kind of documentation an insurance adjuster wants to see. If every vent cap on the roof has three or four fresh dents on its north face, you have a very strong case that hail passed through, even if the shingles themselves are playing coy.
The Numbers Behind the Problem
Hail is not a rare freak event in most of the country. According to the Insurance Information Institute, wind and hail account for roughly half of all homeowners insurance property damage claims. That is a huge share, and it shows how routinely these storms chew through residential property.
The financial scale is bigger than most people assume. Decra Roofing reports that hail-related property damage tops one billion dollars every year across the United States. State-level numbers tell an even sharper story in hail-prone regions. On Point Contracting notes that Colorado alone sees about 94 hail events annually and roughly $151 million in yearly property losses.
Those figures matter because they show hail is a mainstream, repeatable risk, not a once-in-a-decade disaster. If you live anywhere east of the Rockies or along the plains, you should be inspecting after every significant storm.
When to Call a Professional
There is a point where DIY stops making sense. If your home is more than one story, if the pitch is steep, or if you spotted several worrying signs from the ground, call a licensed roofing inspector. Most offer free post-storm assessments and will document everything with photos, measurements, and a written report.
A good inspector does more than count dents. They testshingle flexibility, check sealant bonds, measure granule loss in the gutters, and inspect the attic for early moisture staining. That full picture is what insurance adjusters want to see, and it is what separates a legitimate claim from a denied one.
Questions to Ask Before Hiring Anyone
Not every contractor who knocks on your door after a storm is worth your time. Storm chasers follow weather patterns and vanish once checks clear. Stick with local companies that have a physical address, verifiable licensing, and references from your actual neighborhood.
- How long have you worked in this specific area
- Are you licensed, bonded, and insured in this state
- Will you provide a written report with photos
- Do you handle the insurance paperwork directly
- What warranty comes with any repairs you perform
A trustworthy pro will also walk you through options for lasting roof damage repairs rather than pushing a full replacement when patching will do.
Documenting Everything for Insurance
Insurance companies move faster when you hand them a clean, organized file. Start the moment a storm passes. Note the date, time, and rough duration. Grab a few photos of hailstones next to a ruler or coin before they melt. Save local weather reports or screenshots from radar apps that confirm the event.
After the inspection, keep every piece of paper the contractor gives you. Estimates, photo logs, and written assessments all build the case. If you file a claim, the adjuster will visit and do their own review, but your documentation sets the baseline and prevents lowball offers.
Most policies have a one-year window for filing hail claims, though some are shorter. Do not wait until spring to start the process. Winter weather can mask or worsen the original harm, giving insurers room to argue that the new issues came from snow rather than the summer storm.
Timing Your Repairs Before the First Freeze
Fall is the sweet spot. Contractors have more availability than they do in spring, materials are easier to source, and shingles seal properly in moderate temperatures. Once overnight lows drop below about forty degrees, the adhesive strips on new shingles struggle to bond, which means repairs done in deep winter often need to be redone.
Scheduling an inspection in September or early October gives you a buffer. If the inspector finds problems, you have time to get quotes, file a claim, and complete the work before Thanksgiving. Wait until November and you are competing with every other procrastinator in your zip code for a shrinking pool of available crews.
Closing Thoughts
Hail does its worst work quietly. The storm passes, the sun comes out, the ice melts, and most homeowners assume they dodged a bullet. The reality is that the damage was done in those few violent minutes, and winter is simply the season that collects on the debt. Catching the signs early, from the ground, with a careful eye and a bit of patience, is the single best thing you can do to protect your home before cold weather sets in.
You do not need to be an expert. You just need to walk your property after any serious storm, look for the telltale dents and dings on everyday surfaces, and trust those clues as a signal to dig deeper. A short inspection today, maybe a professional opinion tomorrow, and a few targeted repairs this fall can save you thousands in emergency work once the snow arrives.
Treat your home the way you would treat your car after a fender bender. Check it, document it, fix what needs fixing, and move into winter knowing the structure above your head is ready for whatever the next six months throw at it.