I. Introduction
Your home is much more than a collection of rooms; it is an interconnected ecosystem designed to shield you, your family, and your worldly possessions from the unpredictable elements of nature. While interior remodeling projects like kitchen upgrades and bathroom renovations frequently capture the spotlight in home improvement magazines, the exterior envelope of your property is what truly preserves your investment. The roof, the siding, and the gutter system work in tandem as a defensive shield against moisture intrusion, pest infestation, UV radiation, and thermal loss. When one component of this protective barrier begins to falter, it places immense structural strain on the remaining elements, initiating a slow but destructive chain reaction.
Many homeowners treat exterior maintenance as a series of isolated, reactive fixes. They patch a small leak here, nail down a piece of loose siding there, or clean out a single clogged downspout after a heavy storm. However, there comes a tipping point where patchwork solutions no longer make financial or structural sense. As building materials age, they degrade at relatively similar rates. If your siding is rotting and your roof is shedding its protective coating, addressing these issues piecemeal only prolongs the vulnerability of your home and often ends up costing significantly more in repeated labor fees and compounding interior damage.
This comprehensive guide is designed to help you look at your home through the eyes of a professional building inspector. By understanding the subtle and overt warning signs of exterior deterioration, you can make informed, proactive decisions about when to transition from temporary maintenance to a comprehensive exterior makeover. Over the following sections, you will learn how to conduct a thorough visual audit of your home’s envelope, evaluate the efficiency of your water management systems, test the structural integrity of your walls, and confidently navigate the process of hiring qualified professionals to restore your home to peak performance and beauty.
II. Inspecting the Primary Shield
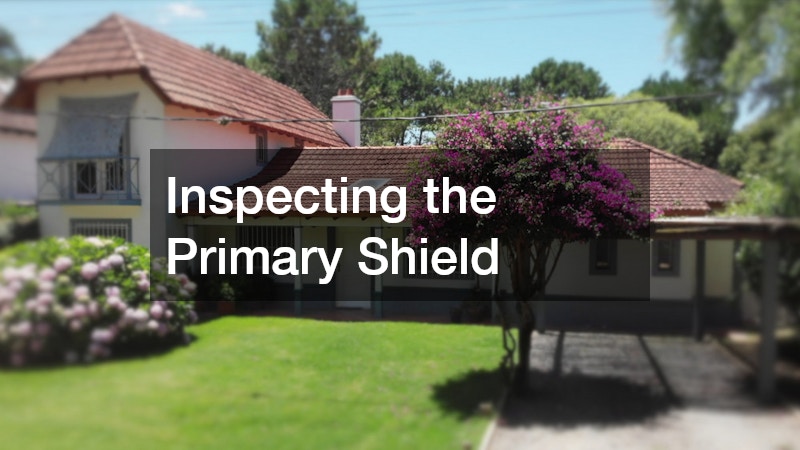
Perform a Ground-Level Binocular Inspection for Granule Loss and Sagging
The highest point of your home’s defense system is also the most vulnerable to weather-induced wear and tear. Because it is largely out of sight, serious roof degradation can go unnoticed for years until water begins dripping through your living room ceiling. Climbing onto a high, pitched roof carries significant safety risks, but you can conduct a highly effective primary inspection from the safety of the ground using a pair of high-quality binoculars.
When you step outside to assess your roof, your first focus should be on the physical condition of individual shingles or roofing tiles. Look closely at the edges and surfaces of the material across different slopes of the roof, paying special attention to the sides that receive the most direct sunlight throughout the day.
Key Visual Warning Signs to Look For
-
Curling and Cupping Shingle Edges: When asphalt shingles reach the end of their functional lifespan, the underlying volatile organics dry out, causing the edges to curl upward (cupping) or the center to bulge (clawing). Both conditions leave the roof highly susceptible to wind uplift and driving rain.
-
Bald Spots and Advanced Granule Loss: Asphalt shingles are coated with mineral granules that protect the underlying bitumen from destructive ultraviolet rays. As the shingle ages, these granules loosen and wash away. If you notice dark, smooth patches where the gritty texture is gone, the roof’s primary UV shield has failed.
-
Mass Shingle Displacement: Missing shingles, even if they seem localized to a small patch, expose the underlying underlayment and wood decking directly to rain. A single missing shingle creates a pathway for water to travel horizontally beneath adjacent shingles.
Beyond the individual shingles, you must observe the overall geometry of the roofline. Stand back from your home at a distance where you can see the entire length of the ridge line clearly. A healthy roofline should be perfectly straight and crisp. If you notice a visible dip, a bowing effect along the ridge, or a sag in the valleys between roof intersections, you are looking at a critical structural warning sign.
Sagging typically indicates that the wooden decking underneath the shingles has been softened by long-term, slow-moving leaks, or that the internal rafters and trusses are spreading and failing under the weight of the structure. When structural sagging is present alongside widespread surface deterioration, localized patching will no longer suffice. At this stage, continuing to pay for minor patches is akin to putting a bandage on a major structural fracture; the underlying deck rot will continue to spread, eventually compromising the safety of the entire household.
Comprehensive roof replacements become the only viable and economically sound path forward to secure the structure from the top down. To properly diagnose the depth of the structural compromise, it is imperative to bring in a reputable roofing company that can perform an attic-level inspection to check for mold, wood rot, and compromised rafter ties, ensuring that your home’s primary shield is completely rebuilt to modern safety and energy standards.
III. Evaluating Water Diversion Systems

Test Your Drainage Efficiency During the Next Heavy Downpour
Water is the single greatest enemy of a home’s structural integrity. A roof’s job is to shed water, but once that water leaves the roof, your gutter and downspout system must safely collect and channel it away from the foundation. To truly understand how well your water diversion system is performing, you need to observe it in action. The next time a heavy rainstorm hits your area, put on a raincoat, grab a flashlight, and conduct a walkaround of your property’s perimeter.
During this active rain test, look for areas where water is failing to follow the intended path. If you see water cascading over the outer edge of the gutters like a waterfall, it means the gutters are either severely clogged with debris, improperly pitched, or undersized for the volume of water coming off the roof.
Pay close attention to the joints and seams where individual sections of the gutter are connected; dripping or spraying water at these connection points indicates that the sealants have dried out and failed.
Secondary Symptoms of Drainage Failure
-
Tiger-Striping and Fascia Discoloration: Look at the exterior vertical face of your gutters and the wooden fascia boards behind them. Dark, vertical stains (tiger-striping) on the gutter exterior mean water regularly overflows. Dark, water-soaked stains on the wooden fascia boards mean water is backing up behind the gutter, rotting the wood that supports the entire system.
-
Foundation Perimeter Erosion: Look down at the soil, landscaping, or concrete directly beneath your gutters. If you see trenches carved into the dirt, eroded mulch, or cracked concrete walkways, it means water is dropping directly from the roofline with immense kinetic energy, rather than flowing through a downspout.
-
Basement and Crawlspace Moisture: A failure in the gutter system almost always manifests in the lowest level of the home. If your basement smells musty, displays efflorescence (white, powdery mineral deposits on concrete walls), or experiences active flooding, your gutters are likely dumping thousands of gallons of water directly against your foundation footing.
When gutters sag, rust through, or pull away from the fascia boards due to rot, they can no longer be reliably repaired. In these scenarios, consulting experienced gutter installers is essential to redesigning a drainage system that matches your roof’s pitch and surface area.
An expert can calculate the exact downspout capacity required to handle regional rainfall intensities, ensuring that water is moved far away from your foundation. To prevent future systemic failures, upgrading to seamless gutters is highly recommended. Because these systems are continuous and custom-extruded from a single piece of metal on-site, they eliminate the weak seams and joints where leaks and clogs naturally form, providing a long-term, low-maintenance solution that keeps your home’s foundation dry and structurally sound.
IV. Checking the Wall Integrity
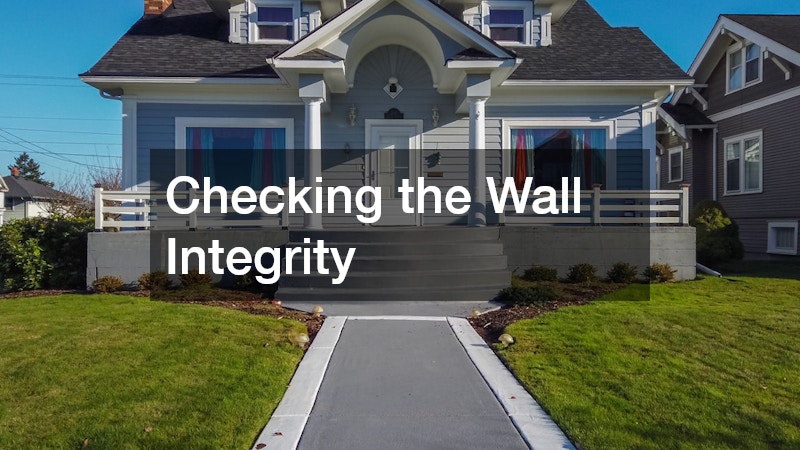
Probe Exterior Walls for Soft Spots, Rot, and Moisture Intrusion
If the roof is your home’s umbrella, the siding is its overcoat. Siding must repel driving rain, withstand extreme temperature fluctuations, block howling winds, and prevent destructive insects from boring into the wooden framing of your home. Over decades of exposure, siding materials can degrade, warp, crack, or delaminate, allowing moisture to breach the exterior envelope. To assess the health of your walls, you must perform a tactile, close-up inspection using a simple tool: a flathead screwdriver or a sturdy putty knife.
Walk slowly around the perimeter of your home, paying special attention to areas close to the ground, zones hidden behind dense landscaping, and junctions where siding meets window casings, doors, and rooflines. Use your tool to gently press against the siding panels, corner boards, and window sills. Healthy wood, vinyl, or fiber-cement should feel rock-hard and unyielding. If the screwdriver sinks into the material with minimal pressure, or if the wood feels spongy and flakes away easily, you have uncovered active wood rot.
Critical Signs of Compromised Cladding
-
Panel Warping and Buckling: Look down the length of your exterior walls from a sharp angle to check for flat uniformity. Siding panels that are warped, buckled, or pulling away from the wall studs create deep gaps that swallow wind and water, completely bypassing the home’s moisture barriers.
-
Brittle, Cracked, or Chalking Materials: Vinyl siding that has become brittle from UV exposure will crack at the slightest impact, while wood siding that has lost its protective paint layer will begin to split. If you rub your hand across your siding and it leaves a heavy, white, chalky residue on your skin, the material’s protective outer resins have degraded completely.
-
Interior Paint and Wallpaper Peeling: Often, the clearest sign of siding failure appears inside your home. If you notice interior paint bubbling near window frames, wallpaper peeling in the corners of exterior walls, or persistent musty odors in certain rooms, water is successfully migrating all the way through the exterior wall assembly and rotting your drywall.
When multiple walls show signs of widespread rot, warping, or cracking, a comprehensive siding service is necessary to strip away the old, failing materials and inspect the underlying house wrap and sheathing.
Crucially, you must remember that wall deterioration does not always start at the ground level. In many cases, water gets behind the siding because of a failure much higher up, such as rusted valley flashing, compromised chimney aprons, or failing step-flashing along roof intersections. Therefore, executing a complete exterior makeover often requires targeted roof repairs to be completed simultaneously with the siding replacement. This holistic approach ensures that water cannot bypass the new wall cladding from above, sealing every potential entry point and restoring your home’s thermal efficiency and structural soundness.
V. Assessing Weather Wear and Storm Vulnerability
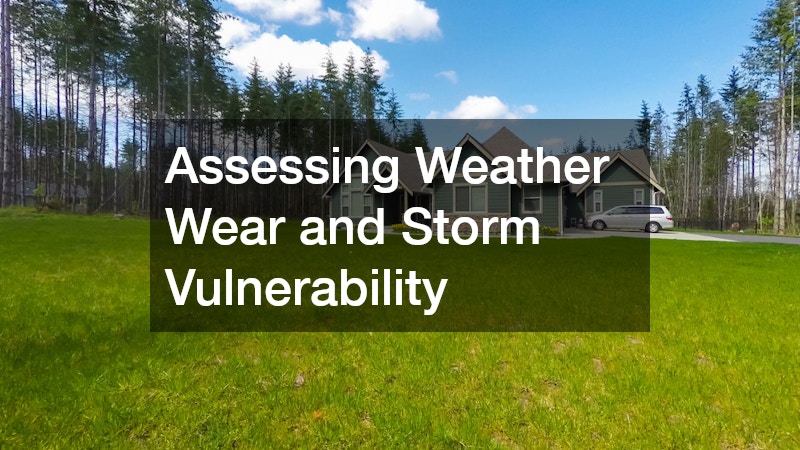
Audit Your Home’s Perimeter Immediately After Severe Weather Events
Extreme weather events—such as hail storms, high wind gusts, heavy winter snow loads, or prolonged torrential downpours—act as natural stress tests for your home’s exterior. A home envelope that appears perfectly fine during mild spring weather can quickly show signs of catastrophic failure under environmental stress. It is vital to perform a rigorous perimeter audit immediately after any severe storm has passed through your region to identify micro-damage before it develops into a full-scale interior disaster.
When auditing your home post-storm, you are looking for evidence of mechanical impact and wind-driven displacement. High winds can create a powerful negative pressure vacuum on the downwind side of your home, lifting up shingle tabs and pulling siding panels away from their fasteners. Hail, on the other hand, inflicts severe kinetic impact damage that fractures rigid materials and bruises softer ones.
Storm Damage Indicators
-
Debris in the Yard: Walk your property line and look for broken pieces of vinyl siding, sections of aluminum trim wrap, or intact shingle tabs that have blown off. If components are lying on the ground, parts of your home’s structural substrate are currently exposed to the open air.
-
Metal Component Dents: Look at soft metal components like attic exhaust vents, chimney caps, aluminum fascia wraps, and window flashing. If these metal pieces are covered in round dents, your home took a heavy hail beating that likely fractured the less visible fiberglass mats within your shingles.
-
Circular Shingle Bruising: On asphalt roofs, hail creates circular indentations where the granules are instantly crushed into the asphalt mat. These look like dark, soft spots. Once the mat is bruised and exposed, the shingle will quickly degrade and leak within a few months of sun exposure.
Ignoring storm damage because there is no immediate leak inside your home is a risky and expensive mistake. Insurance policies typically have strict time limits—often ranging from 12 to 24 months from the date of the storm event—for filing property damage claims. If you delay your inspection, you may miss the window for insurance coverage, forcing you to fund the entire exterior makeover out of pocket.
To protect your investment, you should partner with trusted local roofers who understand the exact weather patterns and historical storm data of your specific municipality. These professionals can provide a certified damage assessment report that clearly translates the physical wear into documented evidence for your insurance adjuster.
Avoid out-of-town “storm chasers” who flood neighborhoods after a storm; instead, prioritize licensed, vetted roofing contractors with a permanent, physical presence in your community. These established professionals will stand behind their warranties and ensure your home is rebuilt using materials rated to withstand the specific wind, hail, and snow loads common to your geographic region.
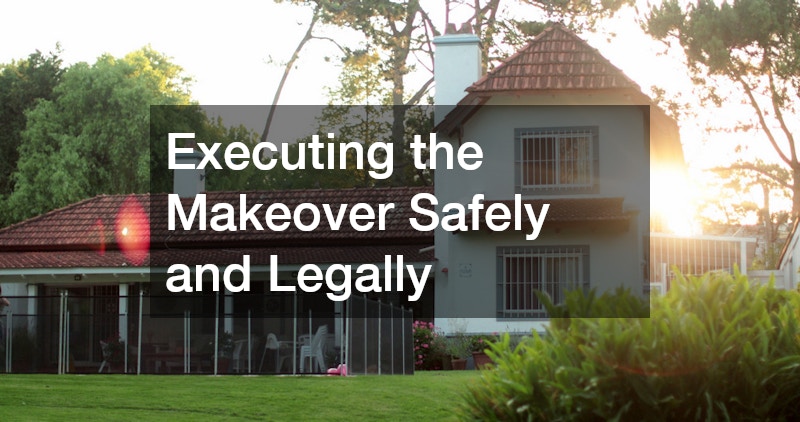
VI. Executing the Makeover Safely and Legally
Require Proof of Insurance, References, and Detailed Written Estimates
Once you have identified the warning signs and decided that your home requires a complete exterior makeover, you enter the most critical phase of the project: choosing the right professionals to execute the transformation. A full-scale makeover involving the roof, siding, and gutters is a complex structural undertaking that requires substantial financial investment and strict adherence to local building codes. Cutting corners during the contractor vetting process can lead to substandard installation, voided material warranties, and severe legal liabilities for you as the property owner.
Before you allow any contractor to place a ladder against your home, you must establish a rigorous screening process. Never accept a simple verbal quote or a one-page handwritten estimate that lumps all costs into a single lump sum. A professional estimate should be an itemized, multi-page document that clearly breaks down the scope of work, material specifications, labor costs, permit fees, and cleanup procedures.
What a Professional Estimate Must Include
-
Explicit Material Brands and Specifications: The contract must state the exact manufacturer, product line, color, and thickness or grade of the siding, shingles, and gutters being installed. It should never say “standard architectural shingles” or “vinyl siding”; it must specify names like “CertainTeed Landmark Lifetime Shingles” or “James Hardie HardiePlank Lap Siding.”
-
Tear-Off and Disposal Clauses: The estimate must explicitly state that old roofing and siding materials will be completely torn off down to the bare wood sheathing, and that all disposal and dumpster fees are included in the price. Installing new materials over old, rotting layers is a code violation in many areas and traps destructive moisture inside your walls.
-
Comprehensive Project Timelines and Payment Schedules: A clear start date, estimated completion date, and an incremental payment schedule tied to verifiable project milestones (e.g., 1/3 upon delivery of materials, 1/3 upon roof completion, and the final remaining balance only after final inspection and lien waivers are signed) protect your funds from being misused.
Working with established local roofing companies provides immense legal and logistical protection for homeowners. Companies rooted in your community intimately understand your town’s specific municipal permit processes, historic district guidelines, and regional building codes. They have built long-term relationships with local building inspectors, which ensures that intermediate structural inspections are passed smoothly and without costly project delays.
When interviewing potential teams, dedicate time to questioning the local residential roofers who will actually be on-site supervising the daily craftsmanship. Ask them to provide direct phone numbers of clients in your immediate neighborhood who had similar full-envelope makeovers completed within the last 12 to 24 months. Call those references and ask about the crew’s cleanliness, punctuality, and how they handled unexpected structural discoveries like hidden deck rot.
Furthermore, demand to see valid, current certificates of both general liability insurance and workers’ compensation insurance sent directly from the contractor’s insurance agency to your email. If an uninsured worker falls off your roof during the project, your homeowner’s insurance policy could be exposed to massive injury lawsuits, turning your dream home makeover into a legal nightmare. Taking the time to verify these credentials upfront guarantees a safe, legal, and seamless renovation process.
VII. Conclusion
An exterior home makeover is far more than an aesthetic facelift; it is a profound reinvestment in the structural health, energy efficiency, and long-term asset value of your property. By treating your home’s roof, siding, and gutter systems as a unified defensive network, you can stop localized degradation before it evolves into widespread, irreversible interior damage. Taking the time to step outside with a pair of binoculars, observe your drainage systems during a heavy downpour, probe your walls for hidden rot, and evaluate storm wear gives you the vital data needed to take control of your property’s future.
While the financial and logistical scope of a comprehensive exterior renovation can feel daunting at first glance, the risks and compounding costs of prolonged inaction are significantly higher. A compromised exterior envelope quietly drains your bank account through escalating monthly utility bills, ruined interior drywall, damaged insulation, and the constant, stressful cycle of paying for temporary, short-term repairs.
When you proactively address these vulnerabilities with high-quality modern materials and experienced, fully insured professionals, you gain invaluable peace of mind. Your home transitions from a source of constant maintenance anxiety back into what it was always meant to be: a secure, beautiful, and enduring sanctuary that will protect your family and your financial future for decades to come. Dedicate an hour this coming weekend to perform your own perimeter walkaround, document your findings, and begin the rewarding journey of restoring your home’s protective shield.